Over the past few months, we finished reading The Story of the World: Volume 1: Ancient Times by Susan Wise Bauer.
I read it aloud to my six-year-old daughter and eight-year-old son at bedtime, usually up to one chapter per night. What started as a simple read-aloud quickly became one of those homeschool experiences that surprised me in the best way.
By the end, the kids were not just tolerating ancient history. They were asking for it.
Some nights they were begging me to keep reading. They wanted to know what happened next in Egypt, Rome, Greece, China, India, Mesopotamia, Israel, and the other civilizations we were learning about. The stories gave them a way into history that felt exciting and human. Kings, emperors, battles, myths, inventions, religions, migrations, and empires all became part of a much bigger story.
But as much as they enjoyed the book, I realized something important along the way.
Reading history aloud is wonderful, but history can be hard to picture.
A book is naturally linear. It has to tell one story at a time. That means it may spend time in Egypt, then jump backward to talk about what was happening in India, China, Greece, or Rome. For adults, that kind of movement through time can be manageable. For young children, it can be harder to understand.
They may enjoy the stories, but it is not always obvious that many of these civilizations were developing at the same time.
So we decided to make history more visible.
We built a physical ancient history timeline on our wall.
Why we chose The Story of the World
The Story of the World worked really well for our family because it made ancient history feel like a collection of stories rather than a list of names and dates.
The chapters were short enough to read at bedtime, but interesting enough to hold their attention. The writing gave my children a sense of people, places, and events without overwhelming them with too many details at once.
For our family, it became a gentle but powerful introduction to ancient history.
We covered early nomads, the first civilizations, Egypt, Mesopotamia, India, China, Greece, Rome, Israel, and more. Along the way, the kids started recognizing names and patterns. They began to notice that civilizations rise, grow, change, fight, trade, borrow ideas, and eventually fade or transform.
That was exactly the kind of big-picture understanding I wanted them to begin developing.
Turning stories into something they could see
As we read, I wanted the kids to have a way to place the events visually.
It is one thing to hear that something happened in 2500 BC or 500 BC. It is another thing to see where that date falls on a timeline and how it relates to everything else.
So we created a wall timeline.
This became one of the most helpful parts of the whole project.
We measured out strings across our wall, with each string representing a different civilization. Our original list included:
- Egypt
- India
- China
- Mesopotamia
- Rome
- Greece
- Israel
- Northern Europe
We did not end up using Northern Europe much for this particular project, but having the space there helped us think about how different regions could be added over time.
Across the top, we marked out time intervals from around 5000 BC to 500 AD. Then, as we read through the book, the children made timeline event cards and pinned them to the correct civilization string using mini clothespins.

How the timeline helped our children understand history
The biggest benefit of the timeline was that it helped the children see that history was happening in parallel.
When you read a history book, one chapter has to come after another. The story moves forward page by page. But real history does not happen that neatly. While one civilization is building pyramids, another may be developing writing, forming kingdoms, expanding trade routes, or creating religious and philosophical traditions.
The wall timeline made that visible.
The kids could see how long certain periods lasted. They could see how events lined up across civilizations. They could see that the Buddha, Confucius, and later Jesus each belonged to particular historical moments. They could see Rome growing while other civilizations already had deep and ancient histories behind them.
They could also see how long something like the Pax Romana lasted in comparison to other events.
That kind of visual understanding is difficult to get from a read-aloud alone. The timeline gave their minds something concrete to attach the stories to.
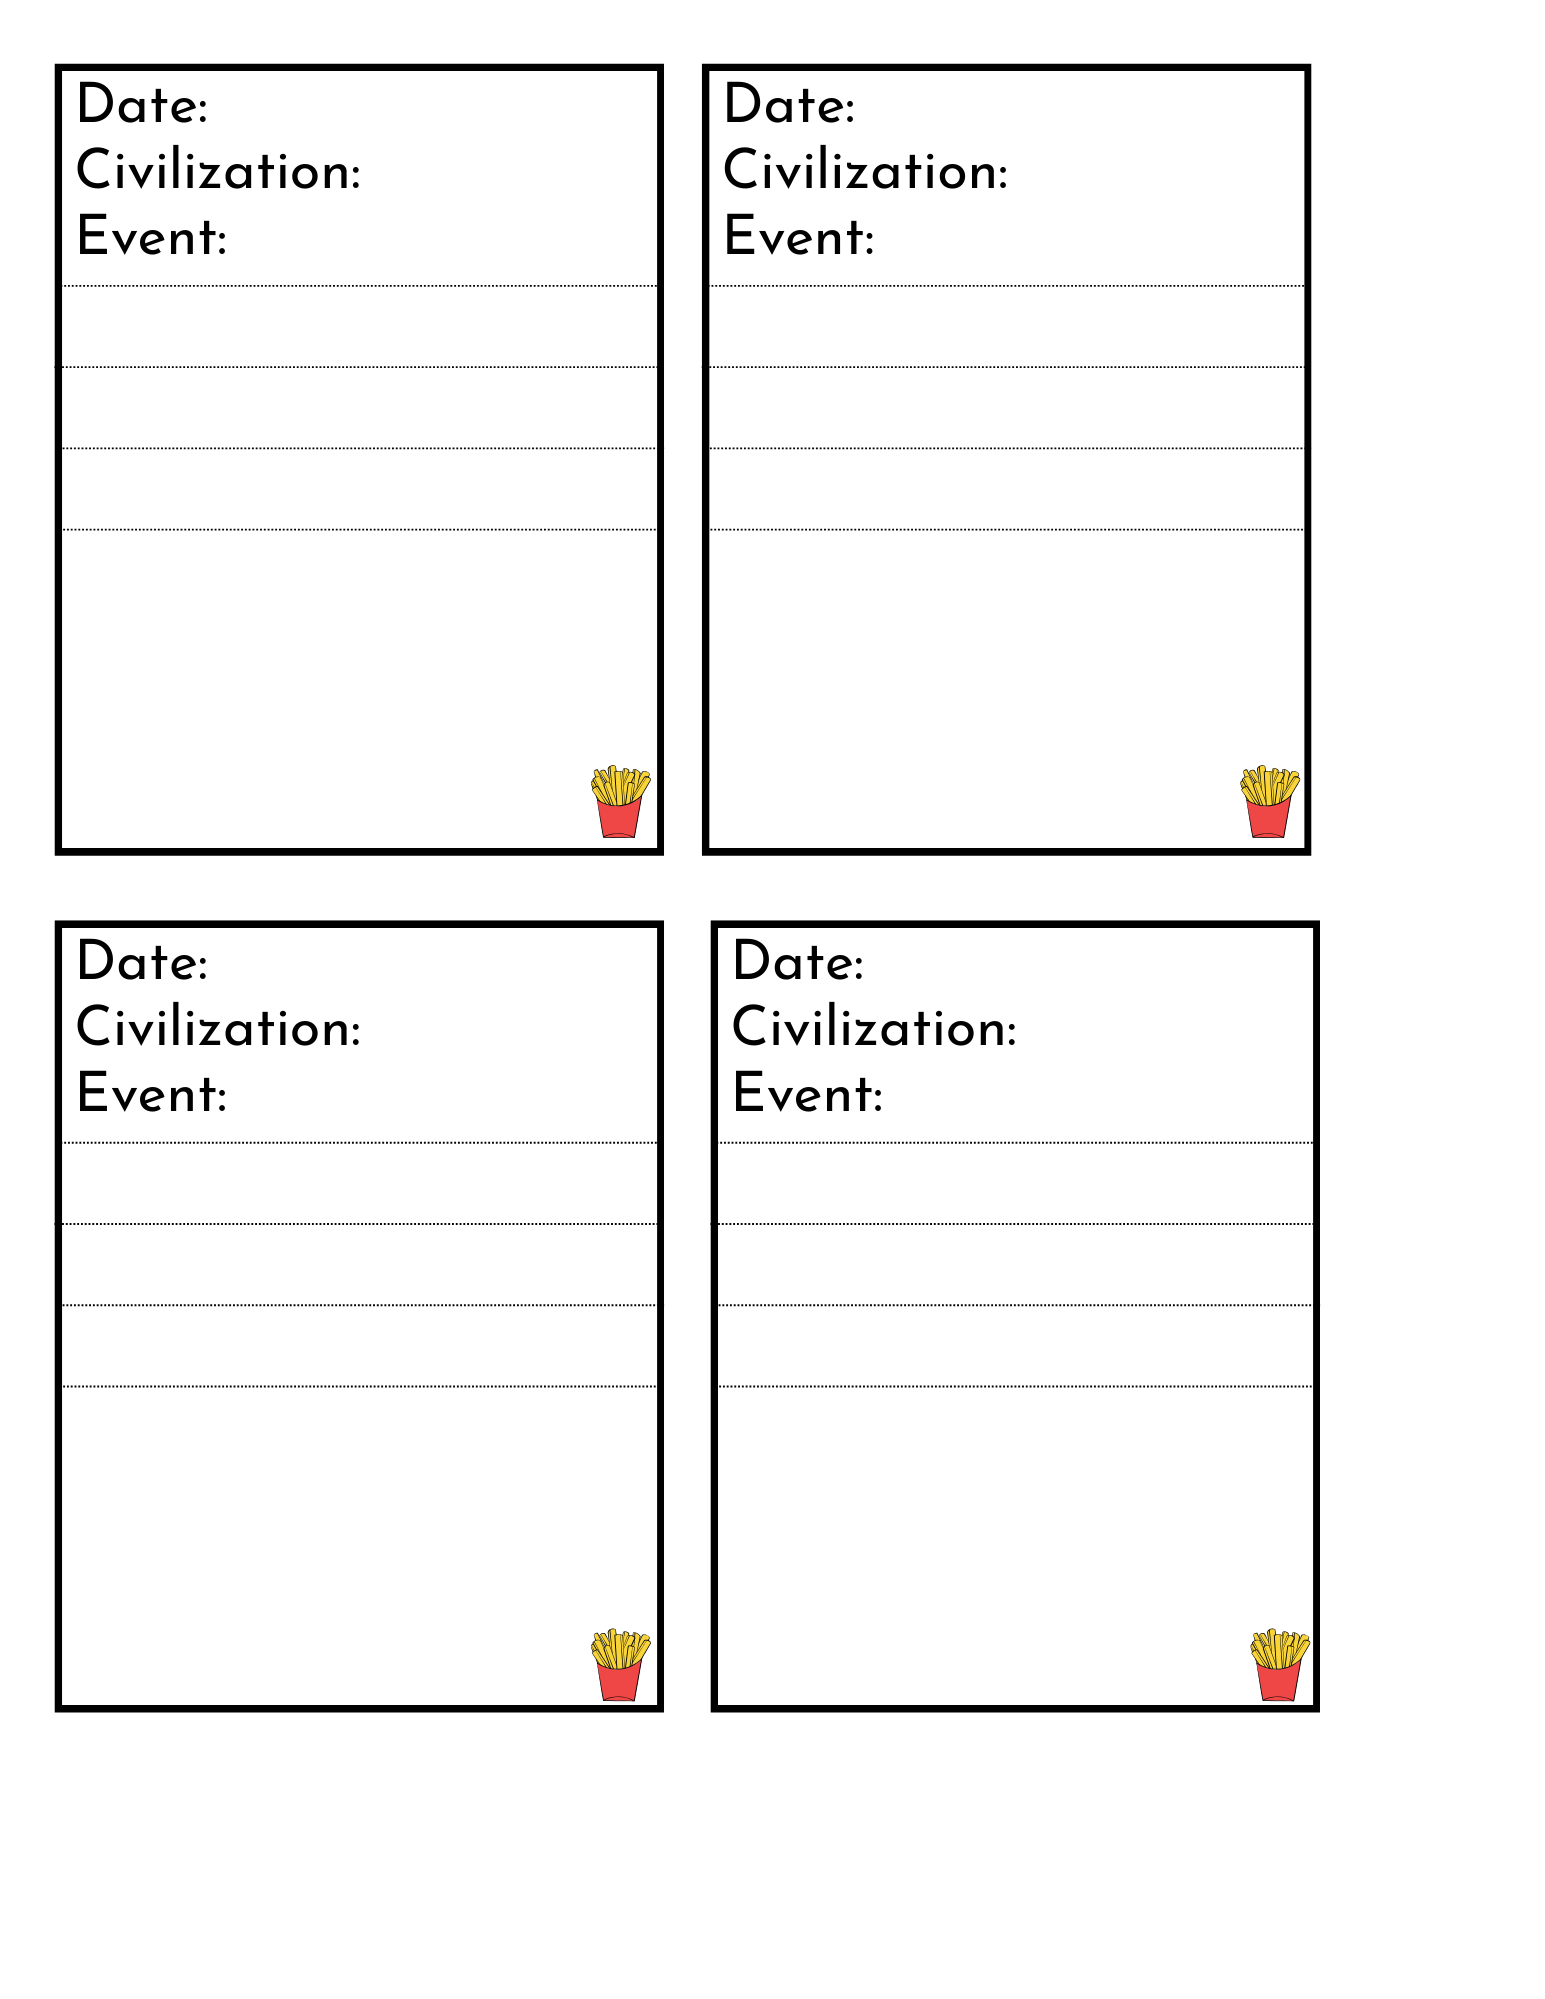
Our timeline event cards
To make the timeline manageable, we used simple event cards.
Each card had space for:
- Date
- Civilization
- Event
- A short written summary
- A small drawing or visual detail
The kids filled these in as we moved through the book. Some cards were more detailed than others. Some had careful writing. Some had funny drawings. Some were quick summaries of big events.
And honestly, that was perfect.
The purpose was not to create a museum-quality timeline. The purpose was to help them engage with the material, choose what mattered, and turn each event into something they could place, remember, and explain.
Over time, the wall filled up with cards. It became a visual record of our journey through ancient history.
Making history active instead of passive
One of the things I loved most about this project is that it turned bedtime reading into something more active.
The children were not just listening and moving on. They were gradually building something.
Each time we added a card, they had to think about the event. What happened? Where did it belong? Which civilization was it connected to? Was it earlier or later than another event? How could they summarize it in a simple way?
That process helped them move from simply hearing stories to organizing knowledge.
It also gave us natural moments to review.
We could stand in front of the timeline and ask questions like:
- What was happening in Egypt around this time?
- Where does Greece fit compared to Rome?
- Which civilization had events earliest on the timeline?
- What happened before the Roman Empire?
- How long did Rome last?
Those conversations made history feel much more alive.
Our final presentation
At the end of the book, we wanted the kids to have a chance to pull everything together.
So they created a short final presentation.
They gave a video overview of the wall timeline and walked through some of the major events from their favorite civilization. They chose Rome, beginning with the story of Romulus and Remus and continuing through major Roman events all the way to the downfall of Romulus Augustus.
I will not be sharing the video publicly because it shows my children, but it was a wonderful way for them to review and present what they had learned.
The presentation gave them a chance to practice:
- speaking clearly
- sequencing events
- summarizing information
- explaining historical connections
- using a visual aid
- sharing what they found interesting
It also gave me a chance to see how much they had absorbed.
They were not just repeating isolated facts. They were beginning to tell the story back in their own way.
That felt like a big win.
Why this project worked so well for us
This project worked because it matched the way young children often learn best.
They heard the stories.
They saw the timeline.
They created cards.
They placed events physically.
They reviewed the wall as it grew.
They presented what they remembered.
It combined listening, drawing, writing, sequencing, memory, storytelling, and public speaking.
It also helped take ancient history from something abstract and far away into something they could see on our own wall.
That made a huge difference.
How to create your own ancient history timeline
You do not need anything fancy to do this project at home.
Here is the basic process we used.
1. Choose your history spine
We used The Story of the World: Volume 1: Ancient Times as our main read-aloud.
2. Choose the civilizations you want to track
We used separate strings for different civilizations, including Egypt, India, China, Mesopotamia, Rome, Greece, Israel, and Northern Europe.
You could simplify this if you have less space. You could also use regions instead of civilizations.
3. Mark your time intervals
We marked dates from about 5000 BC to 500 AD.
This helped the children see the relative spacing of events. The exact scale does not have to be perfect, but it should be consistent enough to help them compare dates.
4. Create event cards
Each event card should include the date, civilization, event, a short summary, and a drawing.
You can make your own or use a simple template like the one we used.
Here are the Timeline Event cards that we used:
5. Add cards as you read
As you move through the book, pause when you reach an important event. Have your child create a card and place it on the correct civilization line.
Some events may need help with dating, and that is fine. The goal is understanding, not perfection.
6. Review the timeline regularly
Every so often, stand in front of the timeline and talk through what you see. Ask questions. Compare civilizations. Notice what was happening at the same time.
This is where a lot of the learning happens.
7. Finish with a presentation
At the end, have your child choose a favorite civilization, time period, or set of events and present it.
This does not have to be formal. A simple five-minute explanation using the timeline is enough.
What I would do differently next time
If we do this again with another volume, I may make a few small changes.
I would probably create a clearer color system for civilizations or time periods. I might also add a master legend so the children can quickly see which string belongs to which civilization. I may also make a larger date scale if we have the wall space.
But overall, I would absolutely do it again.
The project was simple, inexpensive, flexible, and very effective.
Final thoughts
Finishing The Story of the World: Volume 1 felt like a real milestone for our homeschool.
The kids enjoyed the book far more than I expected. They looked forward to it. They asked questions. They remembered stories. They developed favorite civilizations and events.
But the timeline project helped turn that enjoyment into something deeper.
It helped them see how ancient history fits together.
It helped them understand that civilizations were not isolated stories happening one after another, but overlapping worlds developing across time.
And their final presentation gave them a chance to take ownership of what they had learned.
For us, this was exactly the kind of homeschool project I love: simple materials, rich learning, child involvement, and a finished product we could all feel proud of.
We will definitely be carrying this idea forward into future history studies.